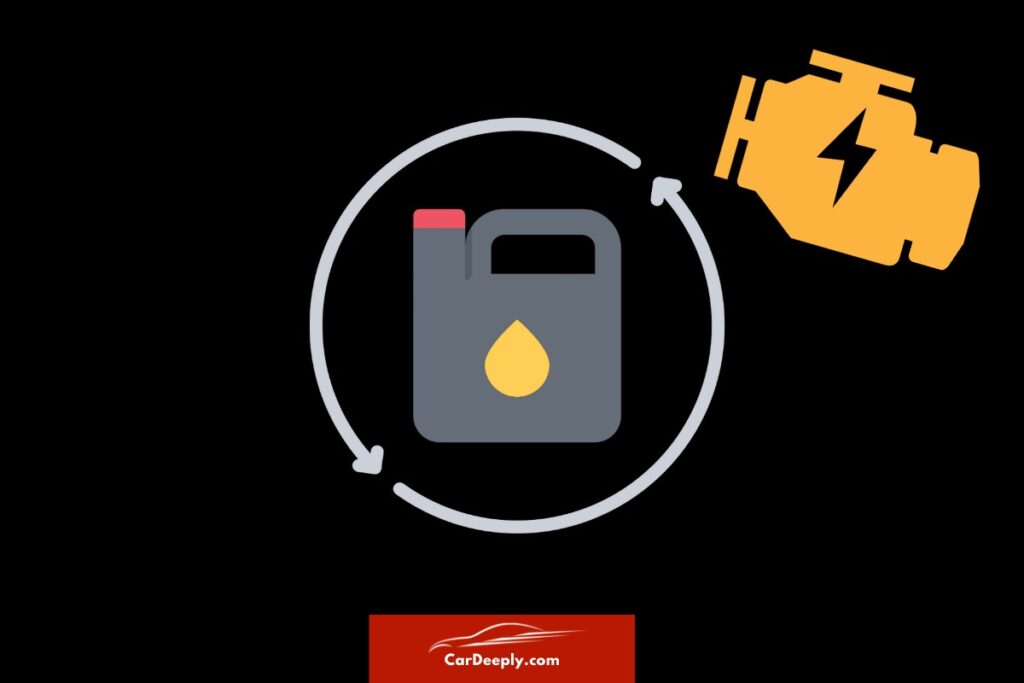
You’ve just changed the oil in your car, taken it for a test drive, and then the check engine light comes on!
This is common.
The solution is usually not as complex as you think. With the right tools, you can solve the problem independently and save expensive workshop costs.
In this guide, we’ll start by telling you 8 reasons why the engine control lamp suddenly lights up after an oil change. There is also detailed advice on how to solve the problem.
Curious? Let’s silence your check engine light together!
Advertising links are marked with *. We receive a small commission on sales, nothing changes for you.
Key Takeaways
- Check Engine Light Causes: The check engine light can come on after an oil change due to various reasons, including unplugged sensors, improperly seated oil filter or oil dipstick, incorrect oil level or pressure, overfilled oil, incorrectly installed oil filler cap, the wrong type of engine oil, or a disconnected PCV hose.
- Diagnosing the Problem: Using an OBD2 scan tool can help identify the root cause of the check engine light. This device reads the fault codes stored in your car’s computer, providing clues to what’s causing the issue.
- Fixing Common Issues: Once the problem is identified, it can be addressed by reconnecting sensors, adjusting the oil filter, securing the oil dipstick, checking the oil level and pressure, correcting the oil amount, fixing the oil filler cap, changing the engine oil, or reconnecting the PCV hose.
- Preventive Measures: Regular maintenance, following the proper oil change procedure, checking engine components after an oil change, using quality engine oil, and not ignoring the check engine light can help prevent the light from coming on after an oil change in the future.
- The Check Engine Light is a Helper: The check engine light is a warning system that alerts you when something’s wrong with your car. Understanding its signals and knowing how to respond can keep your vehicle in top shape and prevent potential issues.
In Short: Understanding the Check Engine Light After an Oil Change
The check engine light, or the malfunction indicator lamp, is a signal from your car’s computer that something is wrong. It’s part of your vehicle’s onboard diagnostics system, which monitors the engine and other parts of the car for problems.
When the system detects an issue that could affect the car’s emissions or performance, it turns on the check engine light.
This light is usually a symbol on your dashboard that looks like an engine. It’s important to note that the check engine light can indicate various issues, from minor problems like a loose gas cap to serious issues like a malfunctioning sensor or engine damage.
Therefore, it’s always best to get your car checked by a professional when this light comes on to prevent further damage.
For a more detailed guide, check out our comprehensive guide.
Unraveling the Causes: Check the Engine Light After the Oil Change
The check engine light could illuminate due to a variety of reasons. It could be something as simple as a loose oil cap or a more complex issue like a malfunctioning sensor.
Let’s take a quick look at some of the most common causes:
- Unplugged MAF or MAP Sensor: These sensors monitor the air entering your engine. If they’re unplugged, it could trigger the check engine light.
- Improperly Seated Oil Filter: If the oil filter isn’t seated properly, it can cause oil leaks, triggering the check engine light.
- Loose Oil Dipstick: If the oil dipstick isn’t seated properly, it can cause the engine to run lean, triggering the check engine light.
- Low Oil Level or Pressure: If the oil level is too low or the oil pressure is insufficient, it can trigger the check engine light.
- Overfilled Oil: Conversely, if the engine is filled with oil, it can also cause the check engine light to come on.
- Incorrectly Installed Oil Filler Cap: If the oil filler cap is not seated correctly, it can cause the engine to run lean, triggering the check engine light.
- Wrong Type of Engine Oil: Using bad engine oil can cause increased wear and tear on the engine, eventually leading to the check engine light coming on.
- Disconnected PCV Hose: If the PCV hose is disconnected, it can cause the engine to run lean, triggering the check engine light.
Remember, these are just a few possible causes. There could be other issues at play. The key is to diagnose the problem correctly and address it promptly.
Stay tuned for the next part to discuss how to do just that.
Tackling the Check Engine Light After an Oil Change
We’ve got our detective hats on and ready to tackle this check engine light mystery.
We’ve already explored the possible culprits behind the check engine light illuminating after an oil change.
Now, let’s dive into the nitty-gritty of diagnosing and fixing these issues. Remember, this is a hands-on process, so get ready to get a little greasy!
Diagnosing the Problem: The First Step
Before we can fix a problem, we need to understand it. That’s where your car’s onboard diagnostic system comes in.
This system is like the car’s personal doctor, constantly checking its health and alerting you when something’s off.
Using an OBD2 Scan Tool!
This is your secret weapon in diagnosing car problems. This device can read the fault codes stored on your car’s computer. These codes can tell you what’s causing the check engine light to come on.
It’s like having a translator for your car’s language. So connect the tool to the OBD2 port in your vehicle, and let it do its magic!
Fixing Common Issues: Roll Up Your Sleeves
Now that we’ve got a diagnosis, it’s time to get to work.
Here’s how you can address some of the most common issues:
- Reconnecting the MAF or MAP Sensor: Reconnect these sensors if unplugged. It’s like plugging in your phone charger – make sure they’re properly seated, and the connectors are secure.
- Adjusting the Oil Filter: You must adapt if the oil filter is not seated properly. It’s like changing a crooked picture frame – ensure it’s properly tightened and the old gasket is removed.
- Securing the Oil Dipstick: If it is loose, push it back into place. It’s like putting the lid back on a jar – ensure it’s properly seated to prevent air from entering the engine.
- Checking the Oil Level and Pressure: Add more oil if the oil level is too low. It’s like filling up a glass of water – you don’t want it to be half empty. If the oil pressure is insufficient, you may need to replace the pump.
- Correcting the Oil Amount: If the engine is overfilled with oil, you’ll need to drain some of it. It’s like pouring out a bit of coffee from a filled cup – make sure the oil level is between the high and low marks on the dipstick.
- Fixing the Oil Filler Cap: If the oil filler cap is not seated correctly, tighten it until it’s secure. If it’s damaged, you may need to replace it. It’s like securing the lid on your coffee cup – you don’t want any spills!
- Changing the Engine Oil: If you’ve used the wrong type of engine oil, you’ll need to change it. Always use the type of oil recommended by your car’s manufacturer. It’s like using the right fuel for your vehicle – it can make a big difference.
- Reconnecting the PCV Hose: If the PCV hose is disconnected, reconnect it. Make sure it’s secure to prevent air from entering the engine. It’s like ensuring all the wires in your computer are connected – everything must be in its place to work properly.
Preventive Measures for the Future: Keeping the Light Off
Prevention is better than cure.
So here are some tips to prevent the check engine light from coming on after an oil change:
- Regular Maintenance: Just like you need regular check-ups to stay healthy, so does your car. Regular servicing can help catch potential issues before they become major problems. It’s like brushing your teeth daily to prevent cavities – a little effort can save a lot of trouble.
- Proper Oil Change Procedure: When changing the oil, follow the correct procedure. This includes using the right type of oil, properly seating the oil filter and cap, and ensuring the oil level is correct. It’s like following a recipe when cooking – each step is important for the final result.
- Check Engine Components After Oil Change: After an oil change, double-check to make sure everything is in its proper place. This includes the MAF or MAP sensor, the oil dipstick, and the PCV hose. It’s like ensuring you’ve got all your belongings before leaving a hotel room – a quick check can prevent many headaches later.
- Use Quality Engine Oil: Not all engine oils are created equal. Using high-quality oil that’s right for your car can help keep the engine running smoothly and prevent issues that can trigger the check engine light. It’s like eating healthy food to keep your body in good shape – quality matters.
- Don’t Ignore the Check Engine Light: If the check engine light comes on, don’t ignore it. Even if it turns off on its own, it’s best to get your car checked to ensure there are no underlying issues. It’s like going to the doctor when you have a persistent cough – it’s better to be safe than sorry.
Remember, the check engine light is there to help you. A warning system alerts you when something’s wrong with your car.
Understanding what it means and knowing how to respond can keep your vehicle in shape and prevent potential issues.
So next time that light comes on after an oil change, you’ll know exactly what to do!

Sebastian loves convertibles and drove a BMW 335i for a long time (325 hp is just a dream). Today, with two children, he is more concerned with SUVs and family-friendly vehicles. In addition to an Audi A4 Avant, he also drives a Cupra Formentor VZ – even as a family man, you can’t do without speed. Get to know Sebastian better and visit the About Us page.
Advertising links are marked with *. We receive a small commission on sales, nothing changes for you.