Backup cameras are one of the handy and good-to-have features. Reversing is easy with one of those backup cameras, and there is less possibility you will hit a wall (yes, it happened to us).
If you were wondering how to install the backup camera and what types of backup cameras there are, you came to the right place.
In this article, you will learn about installing your backup camera and learn information or two on top of that.
Advertising links are marked with *. We receive a small commission on sales, nothing changes for you.
Installing a Backup Camera in F-150: Key Takeaways
- Step 1. Getting the Area Ready
- Step 2. Wiring Installation
- Step 3. Setting Up The Camera
- Step 4. Install Wiring of the Camera
- Step 5. The Finishing Details
How To Install a Backup Camera To Your Ford F-150?
You can still benefit from the added safety of a backup camera if you drive an old vehicle built before they were required. All you need to do is buy an aftermarket camera and follow simple instructions.
There are many DIY instructions, YouTube videos, and other internet tools to help you out because so many people have already made this transition.
But, if you’re not up for research, here are simple steps to install your backup camera.
Note: many authors online use the F-150 backup mirror kit CS-FTR-F35; however, these instructions, with an adjustment here or there (based on the model), should work fine with your F-150.
By the way, each line in the next paragraphs is a step you take to finish the entire step in the process, and the process is advised by CameraSource.
Step 1. Getting the Area Ready
Before beginning the project, remove the rearview mirror glass. We advise collaborating with a specialist. Most vehicle glass suppliers can replace broken glass for free because it breaks easily.
Then, remove the Ford symbol off the tailgate using a fishing line.
Use your finger to find the center of the hole. Then, cut the tape from the central hole in the shape of a square using a razor knife.
Find the square holes that are to the left and right of the central one. Currently, they are concealed by the tape. The decal does not fit into these holes. Cut the tape in a square pattern away from these holes.
Use the two body nut clips that are part of the kit and insert them into the square apertures on the left and right sides.
Step 2. Wiring Installation
To remove the camera cable from the kit you buy, pass it through the Ford F-150’s tailgate and out the bottom hole.
Connect the emblem to the body nut clips by pulling the cord through.
Secure the emblem to the tailgate using the body bolts provided in the package.
Lie flat and open the tailgate. Pull the cable through the bed’s hole at the rear. Between the truck’s bed and the tailgate is where the opening is.
Step 3. Setting Up The Camera
Connect the camera to the chassis harness with care. It has a key and only connects one way. To ensure a solid connection, push it in as firmly as possible.
Cut the backup power source off, then tuck it inside the harness. Starting from this point, we will establish all of the connections in the cab.
Important Reminder: Remember that you should only utilize the red wire at the back of the harness if you don’t want to find a power source inside the cab. When electricity is connected, both red lines are active.
The brake booster is near the engine compartment’s entrance, where the chassis harness is routed along the frame.
Making a slit in the grommet’s nipple at the top will allow you to push the harness through.
To pass the wire through the grommet, pull back the loom. Take care not to scuff up the RCA end.
To fit, trim the extra loom. The grommet’s indented hole should accommodate the harness without difficulty.
Remove the overhead trim panel with a firm tug or tool, then disconnect the cables.
Pull off the connector’s face after removing the terminal lock from it.
Step 4. Install Wiring of the Camera
Yellow and black video wires should be inserted into the connection at pins 8 and 16, respectively. Then, switch out the terminal lock.
Important Reminder: You must add the CAN bus terminal as instructed in the kit if pin 2 is wireless.
To connect the video cables to the main harness, carefully cut away and remove the wire covering. The backup camera kit’s black trim cover will conceal the video wiring.
Pull back the a-pillar cover to remove it. Remove the two bolts if you have a handle before tugging.
The RCA and camera power/ground wires from the kit should be run up along the a-pillar rail after removing the dash-side panel.
Connect the mirror RCA input to the RCA. This can be concealed between the glass in the a-pillar and the headliner.
The upper center console region should receive the power and ground cables.
The blue/white wire in pin 9 of the mirror pine is where you may find the reverse-activated power line.
Connect the camera’s red wire to the harness’s reverse-activated power line using the tap splice included in the package.
Reconnect the camera to grounded pin 4 of the OEM connector’s pin 4 black wire. It is advised that you splice, solder, and shrink-wrap your connections.
Step 5. The Finishing Details
Between the headline and glass, tuck the camera power and ground cables.
Strong tape should be used to hold the wires to the a-pillar. Check to see if the airbag is clear.
Put the A-pillar cover back on.
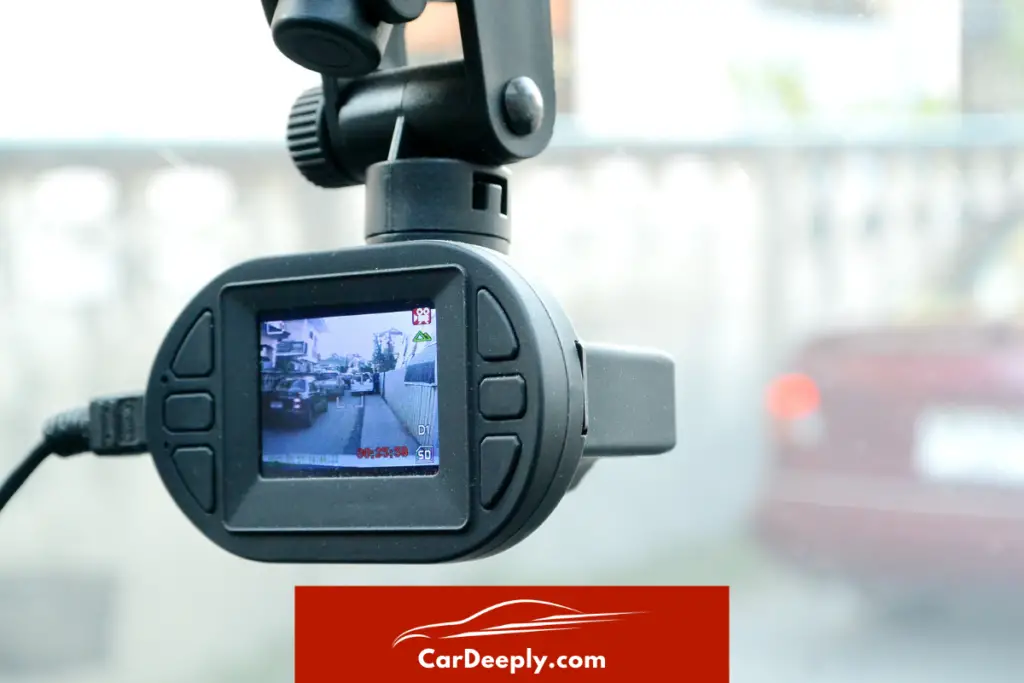
Install the mirror on the wedge after plugging it in. You should just press it on far enough to turn it on momentarily if you want to test it out first (always a good idea).
Start the truck, put it in reverse, and check the camera. The mirror should begin to illuminate with a video picture.
Reinstall the trim panel in the headliner and push the wires back into the overhead. The headlining must be appropriately positioned after a few tries and strong pushes.
Snap the casing with the tailgate emblem on it.
Types of Backup Cameras
Many backup cameras are available for various uses, including RV backup cameras, ice cube small cameras, and maritime cameras.
There is a lot more than just a mirror backup camera for F-150, so before buying, investigate your options.
License Backup Camera
As their name implies, these cameras may be installed above the rear license plate of any automobile, truck, RV, trailer, or Ford F-150.
Most license plate cameras have night-vision LEDs as standard equipment, and depending on your budget, you can also obtain more features, such as colored finishes or a lo-profile version.
Bumper Cameras
Backup cameras for bumpers are intended to be installed inside the bumper itself, into a tiny hole pre-drilled by the car’s manufacturer. Drill bits are provided in the box for a smooth finish for vehicles without a tiny hole for a backup camera.
Typically, these cameras only provide a few choices. They generally have a 90/120/150/170-degree field of vision and grid lines.
Side View Cameras
These cameras aren’t specially made for vehicles, but they are nonetheless rather prevalent. For safer lane changes on the highway, side view cameras are frequently mounted on RVs, campers, or semi-trucks. These cameras provide a 360-degree view of the car’s surrounding area, making them excellent backup cameras.
Hi-resolution CCD lenses and a low-profile design are often the options for these. However, there are more possibilities.
Heavy-Duty Backup Cameras
Although they don’t have a specific name, heavy-duty backup cameras are distinguished from conventional ones by their ability to survive harsh environments and even explosions.
In other words, these cameras can endure a lot of damage and still function flawlessly, so if you use your truck for hard labor, you could consider installing this backup camera in your Ford F-150.
That’s it, now you know how to install your camera, and which type of backup cameras there are. Enjoy your new camera!

Luna Meschiari is a full-blooded car nut who is well known to local garages, as each article is meticulously researched and peppered with the latest piece of information. Guess what car she’s driving right now? A RAV4 2021 Hybrid. But her heart also sleeps for pickups like the F-150. Get to know Luna better on the about us page.
Advertising links are marked with *. We receive a small commission on sales, nothing changes for you.