Changing a spare tire is stressful since it’s time-consuming and tedious. However, add the missing key to the equation, and now we are talking about a double-stressing job.
In this article, find out how to change a tire on your Ford F-250 without a key in a few simple steps. Of course, it will be time-consuming, but at least it won’t be as stressful as it was in the beginning!
Advertising links are marked with *. We receive a small commission on sales, nothing changes for you.
Ford F-250: Removing A Spare Tire Without A Key (Step-By-Step Guide)
Here you will get a thorough step-by-step guide on removing a spare tire from Ford F-250 without the key!
Keep reading to find out the steps, and FYI – it’s going to be fine; the steps are simple!
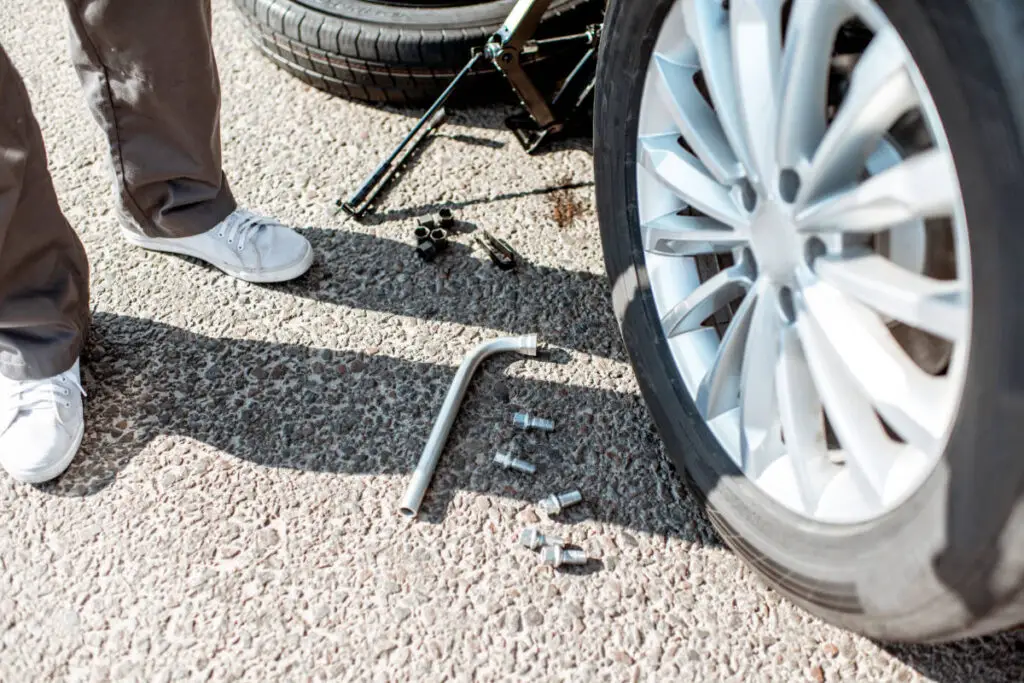
Step 1. Prepare The Tools
It’s best to gather all the required equipment in one place before beginning so they can be easily accessed when working on the automobile.
Choose a cheap kind of socket while making your selection. By using a less expensive socket, you may complete the removal operation without damaging your finest 14 mm socket, which is necessary since the socket must bend around the lock.
You’ll need the following to change your spare tire:
- At least a two-foot-long extender
- A 14mm socket
- A hammer
- Screwdriver with a flathead
- A ratchet
- A block
- Cranks (this one is optional)
- A jack (this one is optional)
Step 2. Park The Ford Truck On A Level Surface And Lift A Brake
During this process, you will work with your tools in a way that might cause the truck to shake while removing the spare tire. If the car is not secured correctly, it may roll over and cause an accident. Because of that, park in a level area.
Use the parking brake on your vehicle to lessen its capacity to roll, and think about putting blocks on the tires to secure it further, especially if you want to raise the truck.
That is why we said that the blocks are optional – it would be good to have them, but it is not of the most significant importance if you park on a leveled surface and lift the handbrake.
Step 3. Ensure The Lock’s Socket Is Secure
Look for a tiny hole in your truck’s rear fender to the left of the license plate to find the release channel for your spare tire.
The tube that connects to this hole will direct your tools to the locking mechanism.
The locks used to connect a spare tire on a Ford F-250 to the truck’s body are not a perfect fit for a 14 mm socket, but they are near enough to allow you to use a typical 14 mm socket.
Attach your socket to as many extenders as necessary to reach the locking device.
Drive the socket onto the lock by lightly tapping the opposite end of the expanded device with a hammer. Because the geometry of the lock is almost identical to that of a 14 mm socket, you may push the socket to bend to enclose the lock by adding the percussive power of the hammer.
Your extension should be able to move past the point where it first encountered resistance.
It shouldn’t take a lot of force to secure the socket to the lock. If necessary, begin with light taps and build up your force until you feel the socket latch onto the lock.
Step 4. Turn The Spare Tire Release Crank
Your socket is now connected to the locking mechanism, which you may use to unlock your spare tire.
Start cranking after attaching a ratchet to your socket extension. You’ll see the tire starting to descend if the socket has successfully clung to the lock.
Once the spare tire is removed, keep spinning it until you can take it out from under the truck. You’ll discover that the socket is separated from your extension when you take it out, so you’ll need to get it.
Step 5. Elevate The Truck If Necessary
You could raise the back of your truck before continuing because you’ll need to reach underneath it. However, you may skip this step and clean the socket if you can fit comfortably and safely beneath your tailgate without raising it.
It’s crucial to carefully ensure that your vehicle is securely fastened while elevating it, using a parking brake, blocks, or other stabilizing equipment.
Before lifting, secure your truck to prevent dangerous shaking or to slip off the jack while you’re below.
You likely want to mount your spare tire on your truck immediately if you’re taking it off. If that’s the case, before raising your vehicle, loosen the lug bolts on the tire that will be removed to help you get the leverage you need to do so.
Step 6. Time For Cleaning The Socket
Look where you inserted the extension once you’re beneath your truck. A plastic tube connecting the bumper to the housing for the spare tire should be visible.
When inserted, this tubing directs your extension into position and may be pushed out of the way by hand without using special tools.
Look for the socket and lock on the spare tire casing once it has been removed. Then, gently pull the socket free with your flathead screwdriver.
Step 7. Lift The Backup Hoist
Your car’s crank should now be able to raise and lower the spare tire without the use of any additional tools going forward after the lock component has been removed.
If you’re replacing your spare tire, mount it on the spare tire hoist and then turn the crank backward to lift the spare tire securely into the housing.
Lift the assembly without a tire to make it possible to drive safely if your replacement spare tire has not yet been obtained.
That’s it!

Luna Meschiari is a full-blooded car nut who is well known to local garages, as each article is meticulously researched and peppered with the latest piece of information. Guess what car she’s driving right now? A RAV4 2021 Hybrid. But her heart also sleeps for pickups like the F-150. Get to know Luna better on the about us page.
Advertising links are marked with *. We receive a small commission on sales, nothing changes for you.